Heyy all my crafty mommies, and shell loving kiddos!!! No longer do you need to feel as though the shells collected from the beach this past year were a waste. Not that collecting seashells are every really a waste of time, but still, this is just a conformation for you all.
I have put together a list of things you can make with your seashells, to liven them up or put them to good use:
1.
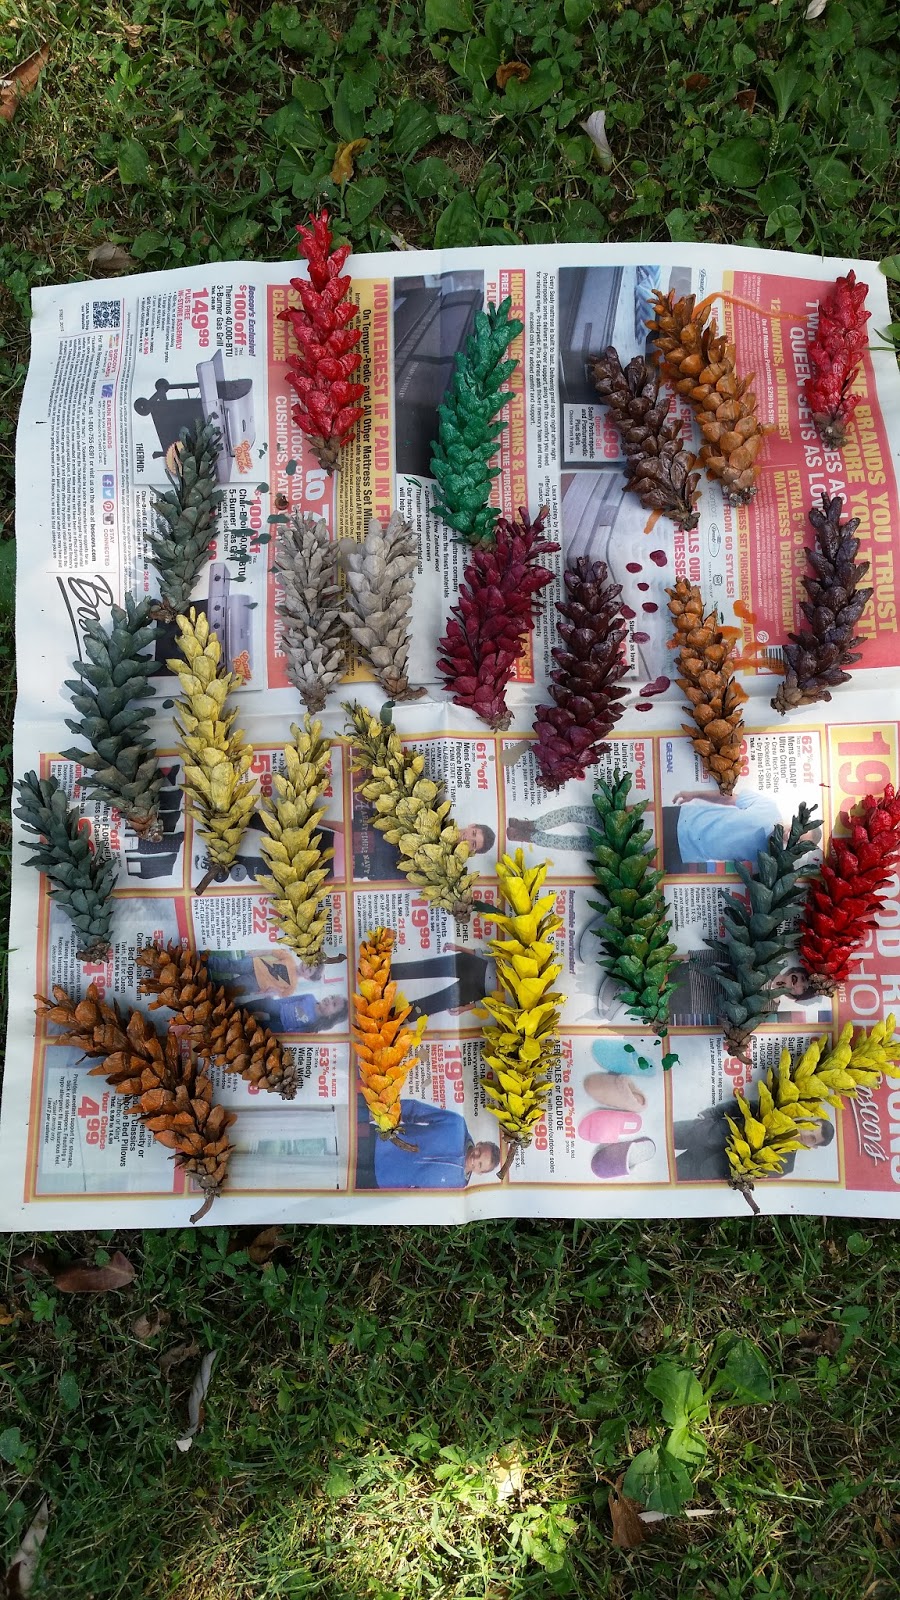
Seashell portraits
One of the simplest things you can do with seashells, is to gather all of the really big ones and paint them. We used nail polish for this because they were left outside and our traditional paints would have washed off, and acrylic is too thick for our liking. You can make everything from memory shell, to pictures of fishes!

PS: dont think your artistic skills are up to par? No problem! Paint a shell all one color and let dry, then using some clear glue, make squiggles all of the shell. Next pour a colorful sand on the shell and let dry to make your shell look like fan coral.

2.
Seashell Earings
This is another super well known use for seashells, but why leave it out? You don't always have to invent the wheel, sometime remembering a good idea is good.You can buy earring backs at just about any craft stores as well as wall mart.I use a hot glue gun for this craft just so that it sticks better, but a super glue will work as well.

1. Paint your seashell (if you would like) and let dry
2. Once dry glue it to the earring back, and let dry
3.
Seashell Vase
Personaly, I am not a fan of flowers, but my mother loves to send then to me for every occasion, so I have an ever growing collection of flower vases in my house, that look dull since I don't try to fill them with flowers. So this summer I went on a quest to find and collect 500 tiny seashells to help fill my vases with. I ended up with a lot more and was able to fill all of them up. This is a great touch to our bathroom, and my office, reminding me of the beach all year round.
4.
Seashell Mobile
For this craft you want to use slightly more light weight shells, since drilling a hole in them increases the risk of breaking them and your glue may not hold up on a heavier shell. The easiest way I have found to do this is with a clasp, glued to the concave side of the shell. Use a thick piece of string to loop through the clasp and then again around a wooden ring, before tying off at the top.
Side note: seashells re really porous, so regular glue does not always work so well with them, however Beacon has a sea shell glue that works really well. If you use this kind please be sure to let the clasps sit for a whole day before continuing, because it takes a while to set.
5.
Seashell Necklaces
Of course, there are so many ways to make a seashell necklace, and it is probably one of the most common use for seashell findings. My daughter and I went all out this year, using both gemstones, and shark teeth to help add creativity to our necklaces.
 |
| (from left 3 mermaid, one just shell) |
1. Paint your seashell
2. Decided if you want the mermaid version or shark version
A.Mermaid: Using a glitter glue, glue a colorful gem in the center of the concave side of your shell before adding a final layer of glitter.
B. Shark: Using some glue create a puddle in the concave said of the shell, add the shark tooth, or teeth, then top off with a top layer of glue in order to trap the tooth, teeth into a glue resin.
3. Let Dry before adding it to your necklace
 Ingredients:


